
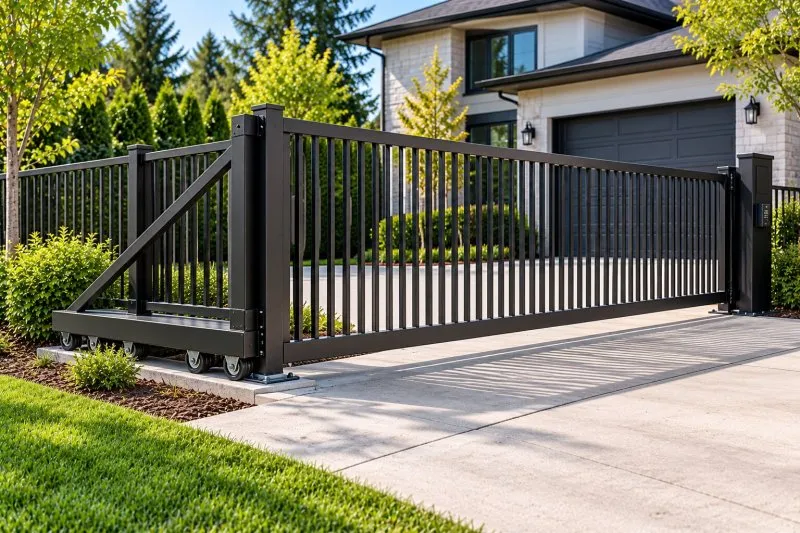

For most homeowners, a new fence is a once-in-a-decade project. That means few people know what the process actually looks like. How long does it take from the first phone call to a finished fence? What happens on installation day? Do you need to be home? What should you check before the crew leaves? Knowing the stages ahead of time removes most of the stress and helps you spot problems early, while they’re still easy to fix.
Stage One: The First Conversation
The process starts with a call or online request. A good contractor will ask a few questions before scheduling a visit:
- What’s the purpose of the fence: privacy, pets, security, or appearance?
- Roughly how long is it, and how tall should it be?
- Which materials are you considering?
- Is there an existing fence that needs to come out?
- Are there gates, slopes, or obstacles to plan around?
Having photos of the yard and a rough sketch of the fence line speeds this step up. Some contractors can give a ballpark range at this stage, though a firm price requires a site visit.
Stage Two: The Site Visit and Estimate
During the visit, the estimator walks the fence line, measures it, and looks at the ground conditions. They’ll check slopes, trees, rocks, drainage, existing structures, and access for equipment. This is also the time to discuss styles, colors, gate locations, and any HOA or neighborhood rules.
Within a few days, you should receive a written estimate listing materials, post specifications, gate details, removal of any old fencing, the timeline, and warranty terms. Take time to review it and ask questions before signing.
Stage Three: Permits, Approvals, and Utility Locates
Once the contract is signed, the paperwork begins:
- Permits. Some cities require permits for fences above a certain height or near property lines. Depending on the contractor, they may handle this or you may need to.
- HOA approval. Many homeowners associations require written approval of the design, height, and color before work starts.
- Utility locates. Before any digging, underground utility lines must be marked. This is usually a free service, but it takes a few days to schedule.
- Property line confirmation. If the boundary is uncertain, a survey may be needed.
This stage often takes longer than the installation itself, so it’s worth starting early.
Stage Four: Materials and Scheduling
After approvals, the contractor orders materials and schedules installation. Standard wood and chain link materials are usually available quickly. Custom gates, specialty vinyl or aluminum systems, and large orders can take longer. Weather also affects scheduling, since heavy rain can delay post setting and concrete work.
Before installation day, it helps to:
- Move outdoor furniture, planters, and toys away from the fence line.
- Mark sprinkler heads, private lines, and invisible pet fences.
- Trim back plants that crowd the fence line.
- Let neighbors know the work is coming.
- Plan where pets will stay while the yard is open.
Stage Five: Removal and Post Setting
If there’s an old fence, the crew removes it first, along with any old footings that would interfere with the new posts. Then they lay out the new fence line with stakes and string, mark post locations, and dig the holes with augers or by hand.
Posts are set plumb and aligned, usually in concrete or gravel footings. Depending on the materials and weather, the footings may need a day or more to cure before rails and panels are attached. On many projects, the posts go in one day and the rest of the fence the next.
Stage Six: Building the Fence
Once posts are firm, the crew installs rails, boards or panels, and trim. For wood fences, boards are spaced and fastened individually. For vinyl, aluminum, or prebuilt panels, sections slot or bolt into place. Gates are hung and adjusted last, since they need precise alignment to swing and latch correctly.
A typical residential fence often takes one to three days on site, though long runs, steep slopes, rocky ground, or custom gates can extend that.
Stage Seven: Cleanup and the Final Walk-Through
Before the crew leaves, they should clean up offcuts, packaging, and excess soil, and haul away the old fence if that was part of the contract. Then comes the most important step for you as the homeowner: the walk-through. Check that:
- Posts are straight and solid, with no movement when pushed
- The fence line is straight, or follows the agreed curve or slope
- Board spacing is consistent
- Gates swing freely, latch securely, and don’t drag
- The fence matches the agreed height, style, and materials
- Landscaping, sprinklers, and lawns weren’t damaged
- The site is clean and safe for kids and pets
Point out any issues before signing off and making the final payment. Small adjustments are easy while the crew is still on site.
After Installation
Ask about care instructions and the warranty, and keep the paperwork. Wood fences may need to dry before staining or sealing, so ask when that should happen. Vinyl and aluminum fences need only occasional cleaning. Walk the fence after the first few heavy rains or windstorms to make sure gates and posts haven’t shifted.
Choosing a Contractor Who Makes It Easy
The smoothest projects come from contractors who communicate clearly at every stage. In a market like Seattle, where permits, HOA rules, wet soils, and busy schedules all affect timelines, homeowners benefit from a fence company Seattle residents can rely on to explain each step. A good team handles the approvals and finishes with a thorough walk-through. Anywhere you live, clear communication is one of the best predictors of a project that runs on time and ends well.
A Clear Process Means Fewer Surprises
A fence project follows a predictable path: consultation, estimate, approvals, scheduling, installation, and final inspection. Knowing what to expect at each stage helps you prepare the yard, keep things on schedule, and catch problems before the crew packs up.