
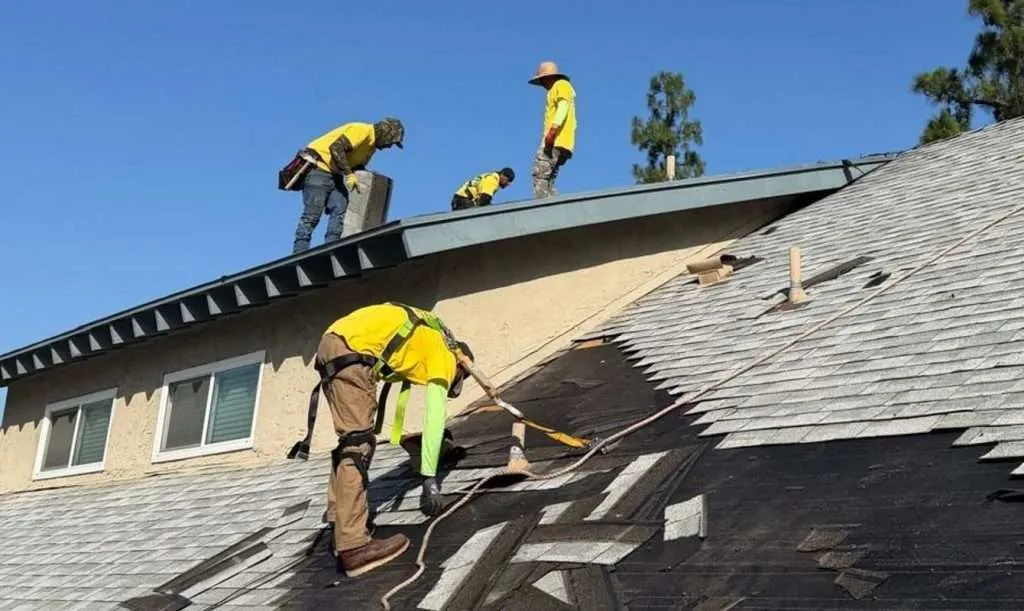

Severe windstorms can exert immense pressure on residential roofing structures, causing hidden structural distress that often goes unnoticed until water leaks into living spaces. Among the various types of storm damage, wind-lifted shingles represent one of the most common and deceitful threats to home integrity. When strong gusts break the thermal sealant strip beneath an asphalt shingle, the tab lifts upward, allowing wind-driven rain to reach the unsealed wood deck below. Even if the shingle settles back into place after the storm subsides, its protective seal remains broken, leaving the home vulnerable to recurring water intrusion. Understanding how wind lifting occurs, how to identify subtle signs of uplift, and how to execute timely repairs preserves structural strength and prevents costly interior moisture damage.
How Wind Uplift Damages Asphalt Shingle Systems
Roofing systems are engineered to withstand specific wind velocities, but localized aerodynamic forces can exceed standard tolerances. As wind flows over a home, it creates a pressure differential between the exterior atmosphere and the attic space underneath. The air rushing over the roof ridge accelerates, producing a suction force known as negative pressure or uplift.
This lifting force is particularly intense along vulnerable roof zones such as eaves, rakes, hips, and ridges. When high winds catch the edge of a shingle tab, they flex the material upward. This movement subjects the underlying thermal sealant strip to severe tension until the bond breaks.
Once the adhesive bond is severed, the shingle loses its primary defense mechanism against wind and water. Subsequent light winds can easily lift the loose tab repeatedly, creasing the asphalt mat and exposing the unheaded roofing nails beneath.
| Damage Stage | Physical Mechanism | Visual and Structural Indicators |
| Initial Bond Failure | Thermal adhesive strip breaks under suction | Shingle lies flat but lifts easily under light manual pressure |
| Creasing & Mat Degradation | Repeated wind flexing bends asphalt base | Horizontal crease line across the top of the exposed shingle tab |
| Fastener Exposure & Back-Back | Uplift pulls shingle over nail head | Enlarged nail holes, loose fasteners, and torn shingle backing |
| Surface Granule Loss | Wind friction and creasing strip mineral granules | Dark lines along crease mark, accelerated asphalt weathering |
Identifying Wind-Lifted Shingles After a Storm
Locating wind damage requires a methodical approach, as uplifted shingles frequently lie flat once wind speeds drop, disguising the severity of the problem. Property owners should begin with a ground-level inspection using binoculars before considering elevated access.
Key signs to look for include:
- Horizontal Crease Lines: As wind bends a loose shingle back and forth, it fractures the asphalt matrix along the top edge of the tab. This creates a distinct horizontal line where mineral granules have dislodged.
- Lifted or Unsealed Edges: Shingle edges that sit slightly higher than surrounding courses indicate that the adhesive bond beneath has failed.
- Exposed Nail Heads: If a shingle flexes significantly, it can tear around its fasteners, pulling away from the nail heads and leaving open entry points for moisture.
- Accumulated Granules in Gutters: Excessive mineral granule buildup inside gutter channels after a storm often points to shingle stress caused by wind flutter.
Inside the home, property owners should inspect attic spaces for water staining along rafters, deck boards, and around roof penetrations such as plumbing vents and chimneys. Moisture traveling down a rafter often originates several feet higher up the roof slope where a lifted shingle permitted water entry.
Immediate Steps to Take When Wind Lift Is Suspected
When wind damage is identified or suspected following a storm event, taking prompt action prevents progressive water damage to insulation, drywall, and framing timbers.
Document the Damage for Insurance Purposes
Before touching any roofing materials or attempting temporary fixes, photograph all visible damage from multiple angles. Document specific details such as creased tabs, missing shingles, debris accumulation, and any interior water stains. Clear photographic evidence establishes a timeline for insurance claims, demonstrating that the damage resulted directly from a recent storm event rather than natural wear and tear.
Apply Temporary Weather Protection
If active leaks occur, securing a temporary water barrier takes priority. Covering affected roof sections with a heavy-duty woven tarp prevents water intrusion until permanent restoration can take place. The tarp should extend over the roof ridge to prevent wind from catching the top edge, and it must be secured with wooden furring strips rather than driven nails, which create additional holes in undamaged shingles.
Professional Evaluation and Material Assessment
Assessing whether a roof section requires spot repair or widespread replacement depends on the extent of sealant failure and the age of the installation. In regions exposed to coastal winds or seasonal storms, engaging experts inEdison Roofing Shingle Roof Repair Long Beach ensures that compromised seal strips are properly re-adhered or replaced using wind-rated asphalt shingles that match existing manufacturer specifications.
Professional Repair and Restoration Methods
Repairing wind-lifted shingles involves more than simply flattening the material. If the underlying asphalt mat is creased or torn, the affected shingle must be removed entirely to restore structural integrity.
Replacing Broken Shingles
To replace a creased or unsealed shingle, a technician carefully breaks the adhesive bond on the course directly above it using a flat pry bar. The nails securing the damaged shingle and those penetrating its top edge from the course above are carefully extracted. A new shingle matching the weight, style, and color profile is slid into place, fastened with corrosion-resistant roofing nails placed within the manufacturer specified nail zone, and hand-sealed with asphaltic roofing cement.
Resealing Lifted Tabs
If shingles have lost their adhesive bond but remain uncreased and structurally sound, hand-sealing can restore their wind resistance. A small amount of approved asphalt roof cement is applied to the underside of each tab using a margin trowel or caulking gun. Pressing the tab firmly into the cement establishes a manual bond that holds the shingle secure while it cures. Excessive use of sealant should be avoided, as over-application can trap water underneath or cause chemical blistering.
Long-Term Prevention and Roof Resilience
Preventing future wind uplift involves selecting high-performance materials and ensuring correct installation practices during initial construction or roof replacement.
- Select High Wind-Rated Shingles: Modern asphalt shingles carry specific ASTM wind resistance ratings. Class F (rated up to 110 mph) and Class H (rated up to 150 mph) shingles utilize enhanced adhesive strips and reinforced nail zones to resist extreme uplift forces.
- Ensure Proper Fastening Patterns: Shingles installed with six nails instead of the standard four offer significantly higher resistance against high winds. Correct nail placement directly within the designated nail line is essential; high-nailing causes shingles to pull away easily under pressure.
- Maintain Adequate Attic Ventilation: Proper ventilation regulates attic temperatures, allowing the sun to heat the roof surface evenly in warm weather, which activates the thermal sealant strips as designed.
Addressing wind-lifted shingles promptly protects structural decking, prevents interior water damage, and ensures the entire roofing system retains its design lifespan. Through careful inspection, proper resealing techniques, and professional maintenance, property owners can keep their roofs resilient against seasonal storms.